

Creating a truly photorealistic 3D rendering takes incredible skill, time, and industry experience. Luckily, it also tends to pay off in ROI.
This partly shows in the 3D rendering market size, which is expected to grow at more 20% CAGR from 2020 to 2026.
However, even a professional 3D rendering studio‘s work may lack that finishing touch that makes the image not just attractive, but realistic.
Table of Contents:
Introduction
There are various types of rendering for architecture and construction. Photorealistic 3D rendering, as the name suggests, is the art of creating realistic images through visualization.
Often, the viewer can’t pinpoint exactly what is holding the rendering back, and the artist himself may never find the answer.
When this happens, it’s often in the details. So today, we’re sharing four of BluEntCAD’s insider tips for photorealistic rendering that will change how you see architectural visualization.
Your Guide to Photorealism
Tip #1: Never use colors that are 100% black or 100% white
This tip is by far the easiest, and you’ll notice results as soon as you implement it.
To achieve a photorealistic 3D rendering, you need to have a balance of highlighted areas, shaded areas and mid tones. These bring out the dimension and volume of the objects in the rendering.
Materials that are 100% black or 100% white make it difficult to differentiate between the mid tones and shadows or highlights. This results in flat-looking objects.
To avoid washing out light areas, cap colors and textures at a brightness value of 80%. Even for perfectly white items like a blank piece of paper, a higher diffuse white value won’t look real.
As for dark areas, don’t let their brightness values fall below 10%. Staying within this range will keep the image from looking overexposed or underexposed.
Not only does this give the rendering a natural sense of balance, it also improves render times by keeping your values in check.
Recommended Reading:
Tip #2: Strive for (im)perfect texture in 3D renderings
When it comes to texturing, you could master the perfect texture tiling, scaling and positioning techniques and still not produce the photorealistic results you’re looking for.
Many architects are not the first to ask for dirt and imperfection in the final rendering, but in reality, nothing makes a photorealistic 3D rendering more authentic.
It’s helpful to think about how your model would react to natural weathering and exposure to the elements, and recreate hints of these effects in the rendering.
Adding different types of variation to repeating textures and slight bumps and scratches on smooth surfaces go a long way in creating overall realism for the image.
Similarly, try veering away from the default symmetrical lines and shapes provided by CAD software and incorporate some asymmetric variance to textural details.
This will make the rendering more dynamic and true to life than the infinite identical textures associated with CGI.
Recommended Reading:
Tip #3: Always use area shadows and reflections
Area shadows are a lifesaver for capturing that perfect diffused light in an architectural visualization.
Take different times of day, for example. Morning light creates soft shadows that get progressively sharper until midday, after which it begins to soften again until the daylight disappears.
Keep in mind that even at high noon, shadows are not 100% sharp. You still need to use area shadows to add a touch of softness to the edges.
This applies to artificial as well as natural lighting. Different fixtures cast shadows of varying subtlety and sharpness depending on the context.
Area shadows are perfect for achieving these different levels of diffusion with different parameters.
Furthermore, a common mistake in 3D models is omitting surface reflections. In the real world, reflections are everywhere and almost no area is lit with pure diffuse.
To add to the foundation you create with area shadows, take into account the surface glossiness of your objects and increase reflection intensity accordingly.
Recommended Reading:
Tip #4: Use depth of field to your advantage
Depth of field effects are an interesting way of creating photorealism in 3D animation, because it plays off the technique’s association with photography.
It tricks the viewer into believing that they are seeing an impermanent captured moment of a dynamic setting as opposed to a static computer-generated model.
The effect is naturally more obvious in close-up shots, where the elements in the foreground are at noticeable distance from the elements in the background. However, it can also be applied strategically on large-scale scenes.
A shallow depth of field is a subtle way of isolating the focal point of the rendering while blurring elements in the image that are of lesser priority. This allows you to concentrate on achieving photorealistic details where they will count the most.
Depth of field can also improve the overall composition of the image when used correctly. It not only frames objects in an advantageous way, but also forces you to pay attention to how you layer the rendering.
Actively choosing what objects to place in the foreground, middle ground and background helps you fully profit from the human eye’s depth perception, recreating the experience of seeing a photograph.
Conclusion
Effective 3D architectural rendering is a combination of technical tricks and a critical eye. Armed with these tips, your photorealistic renderings should see a noticeable improvement.
And if you need further assistance via an architectural rendering company? BluEntCAD is just a click away.
We work with the latest hardware and software including 3D Studio Max and Revit for all your 3D rendering purposes, including walkthroughs and 3D product rendering.
You’ll have the option of using our CAD studio model or trying our Revit Modeler or 3DS MAX resource for one month. We provide these experienced 3D visualization resources on a flexible basis to determine what methods and tools are the best fit for your needs.
Our skilled professionals have worked on a variety of different projects for real estate developers, interior designers, architectural, and marketing firms.
Creating convincing textures regardless of the objects and settings of the architectural rendering requested is something we take pride in.
Ready for 3D modeling services that will attract investors and wow clients? Contact us now!
Maximum Value. Achieved.


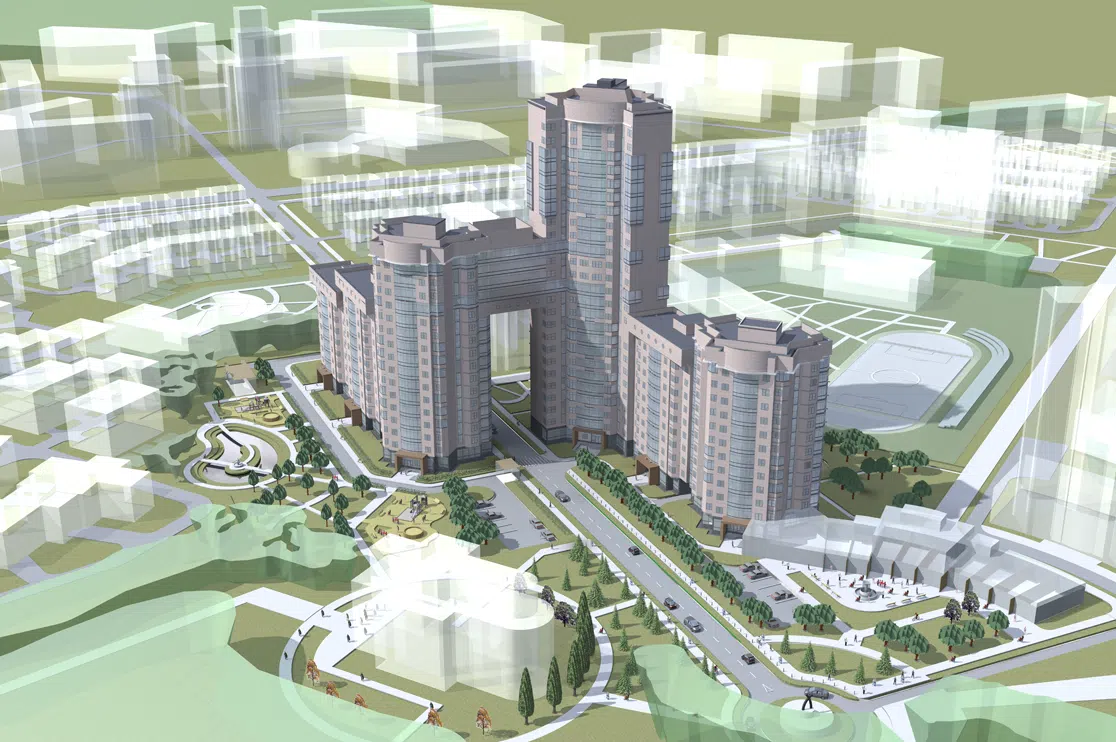 Architectural Rendering: Revolutionizing Urban Planning for Future Cities
 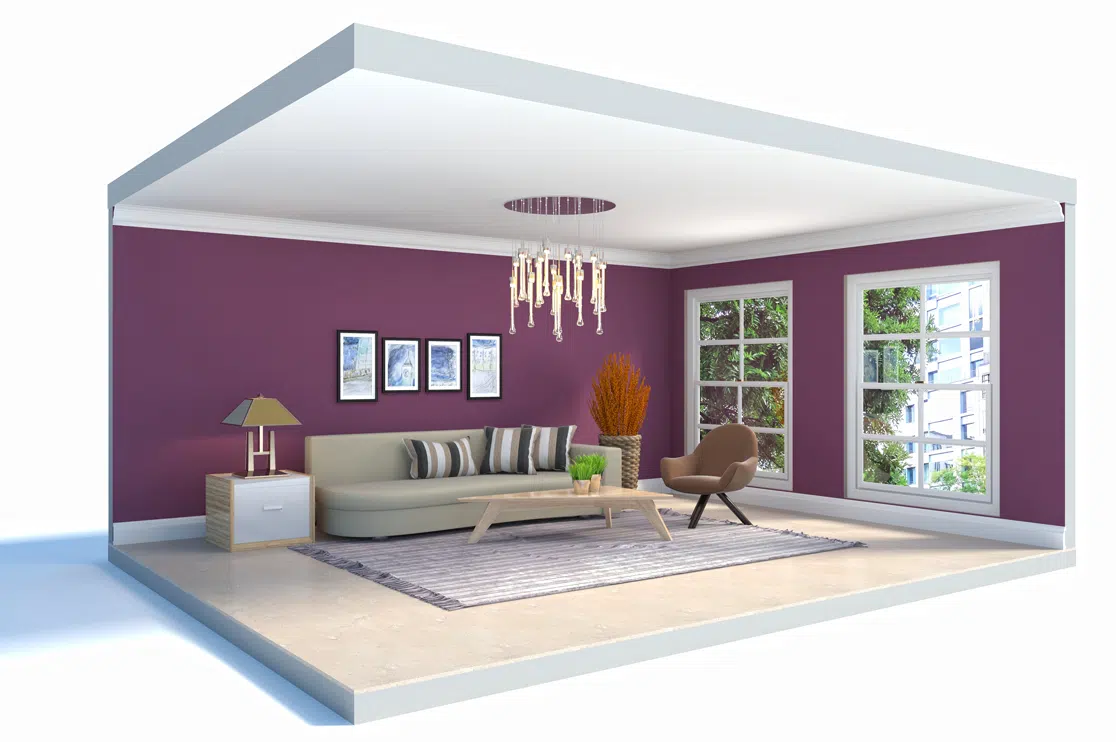 Real Estate Virtual Staging: Avoid These Mistakes to Sell Your Home Fast (With Pro Tips)
  How Does 3D Rendering Help with Virtual Staging a House for Sale?
  Best 3D Custom Wardrobe Designs for Your Bedroom